[Home Theater Network HDAV.com.cn] Before we introduced how to install a home theater speaker: "The old snail teaches you how to install a home theater speaker", then how to install a home projector, this problem has plagued many people, today we Let me introduce you briefly:
Depending on the installation method, home theater projectors can be divided into table type front projection, ceiling front projection, table rear projection, and ceiling rear projection. The portable projector that is convenient for use anywhere is generally a table-type front projection. This projection method is greatly affected by ambient light. However, if it is designed as a ceiling-type front projection method, it not only has advantages in cost performance, but also has the most display effect. outstanding. Today, the desktop projector is not the same as the commercial machine. The color matching is very fashionable. The choice can be based on the decoration design, and choose the right color to match with other home appliances.
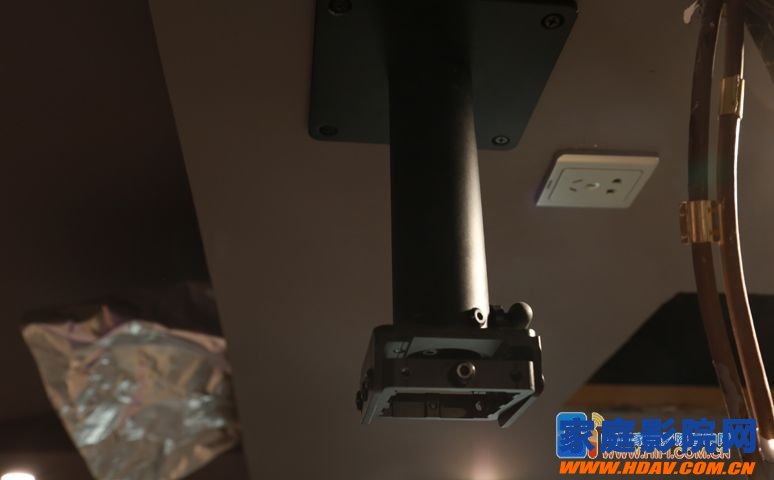
1, the installation of the hanger
The upper part of the hanger is a square frame with eight through holes of 6 mm in diameter. The eight holes are mounting holes for connecting the hanger to the upper fixing member of the ceiling. The distance between the base surface of the fixture and the ceiling surface depends on whether the home theater projector is hidden inside the ceiling. If hidden inside the ceiling, this distance should be greater than the height of the hanger after shrinking and the height of the home theater projector itself.
2, projector installation
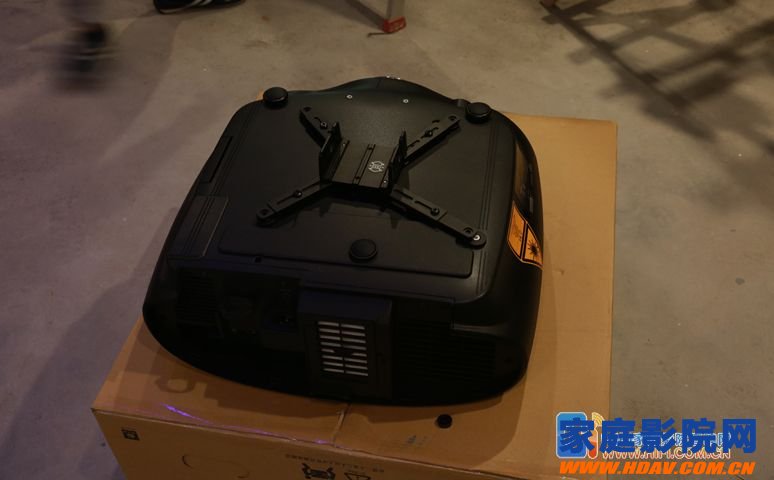
The bottom of the hanger is a fixed universal hanger for the home theater projector. According to the size of the projector, the lever of the fixed universal hanger is adjusted to connect the projector.

3, electrical connection
Connect the power cable and control cable correctly according to the wiring diagram given. The various wires of the home theater projector are installed as follows: two wire ropes are respectively provided with a plurality of small rings. When the hanger reaches the maximum stroke, the wires of the projector are first fixedly connected with the small ring by a plastic cable tie, and then Then from the bottom to the upper "Z" form is connected to the two heel wire. When the cradle moves up and down, the various wires of the projector will move between the two wires.
4, adjust the height of the hanger
There are two travel switches on the upper part of the hanger to control the upper and lower positions of the hanger. Loosen the bolts on it and press the mark to move the travel switch left and right to adjust the position of the hanger and then tighten the small bolts.
After installing the home theater projector, the first step in setting up a home theater is to connect the home theater projector. Most of the projectors are fully connected, but it should be noted that some projectors are not fully connected. Be clear. As for the entire sound system, it is only necessary to connect the home theater projector to the audio, amplifier or other multimedia audio-visual equipment.
The installation of the projector is relatively simple, but the realization of a home theater with excellent audio-visual effects must also pay attention to both the space and the projection environment. Since the size of the entire space directly affects the audio-visual effect of the theater, when placing the home theater projector, it must be 3 to 5 meters away from the wall or the curtain, so as to achieve the best display effect; as for the hearing, in order to achieve one In a realistic situation, the room in which the home theater projector is placed is preferably rectangular, which can play a unique role in the harmony of the modulation sound. In terms of projection effects, most home theater projectors currently have a brightness of more than 1200 lumens, but it is recommended to install curtains in the room to block outdoor light, and the walls and floors of the room should not use reflective materials as much as possible. You can turn down the brightness of the bulb to extend the life, and secondly avoid other details that affect the fidelity of the video. Also, don't let the seat close to the audio equipment or the amplifier when you watch it, which will make the sound effect very poor.
Projector adjustment:
In general, installing a home theater projector does not mean that you can immediately start enjoying your favorite movies. In order to get better results, we must also adjust the settings. First of all, the resolution adjustment, the current longest resolution of the computer is 1024 × 768, if you choose the home theater projector supports 1024 × 768 resolution, basically do not need to adjust, but if you use the home theater projector The maximum resolution supported is 800×600, but the resolution set by the computer is 1024×768 or higher. In this case, the projector will automatically display the image using the compression function. Although we can see the image normally, the display quality of the screen. But it is greatly discounted. Therefore, the resolution of the video source should be set according to the resolution supported by the projector to match each other for best results.

The next step is to project the image onto a wall or screen, move the projector to project the image to the correct position, and adjust the projector lens knob to focus, while the image of the projected image should fill the entire screen as much as possible. If the image appears trapezoidal or parallelogram, it can also be adjusted with the built-in trapezoidal error correction function of the projector.
Projector tips:
1. Before turning on the projector, you need to confirm that the cable connecting the home theater projector is connected properly, and make sure that the video source has been output normally. After completing the projection connection and turning on the projector, you also need to switch the output mode. Because there are three ways to output the projector, you can press and hold the Win logo button and the F5 button (when connected to the notebook, you can press the Fn button and the F8 button) to select the appropriate screen output method.
2. In the eyes of users who are not familiar with home theater projectors, the projector is like an ordinary TV set. If you want to turn it off, most of it will be cut off directly. As everyone knows, this kind of operation is the "big taboo" of using the home theater projector, because the direct shutdown of the projector under long-term use will seriously affect the life of the projector bulb. Correct boot sequence: first turn on the projector power button, then press the Lamp button on the projector's operation panel, and wait until the flashing green signal stops flashing, the boot is completed. Correct shutdown sequence: first press the Lamp button, when the screen appears to be really shutting down, press the Lamp button again, then the green signal light on the projector's control panel will start to flash, and wait until the projector's internal cooling fan stops completely. When the green signal stops flashing, turn the projector off and turn off the power. In addition, between each opening and closing operation, it is best to ensure that there is an interval of about 3 minutes, in order to allow the projector to fully dissipate heat. The opening and closing operations are too frequent, which may cause the projector bulb to burst or the internal electrical components of the projector to be damaged.
3, the home theater projector lens is clean or not, will directly affect the clarity of the content on the projection screen, when encountering various circles or spots on the screen, most of the dust on the projection lens "cause". At the same time, the projector lens is very delicate. When you are not using it, you need to cover the lens cover to avoid dust. When cleaning, you should use professional lens paper or other professional cleaning agent to remove dust from the projector lens.
More fresh and fun home theater information, please pay attention to home theater network (WeChat: cnhifi) http://, the country's most influential home theater audio player interactive media website.
Note: This article is transferred from Solan. The article is an independent view of the author and does not represent the position of the home theater network.
Minsound offers a great range of driver units,providing accurate reproduction.high intelligibility and dependable performance in commercial sound,signaling and public address loudspeaker systems.
models are suited for Minsound reflex horns,equipped with the industry standard 1-3/8"-male tread pattern.
TD series driver units are made of Neodymium magnet for good performance.
There are line thransformers in TU series for changing output power.

Driver Units,Driver Unit With Transformer,Speaker Driver,Unit Driver,Horn Driver Units
Taixing Minsheng Electronic Co.,Ltd. , https://www.msloudspeaker.com