MAVIC PRO drone series of evaluation of a total of three articles, this article is the second article, the previous article is out of the box drying single and test flight, link:
Refer to the purchase link:
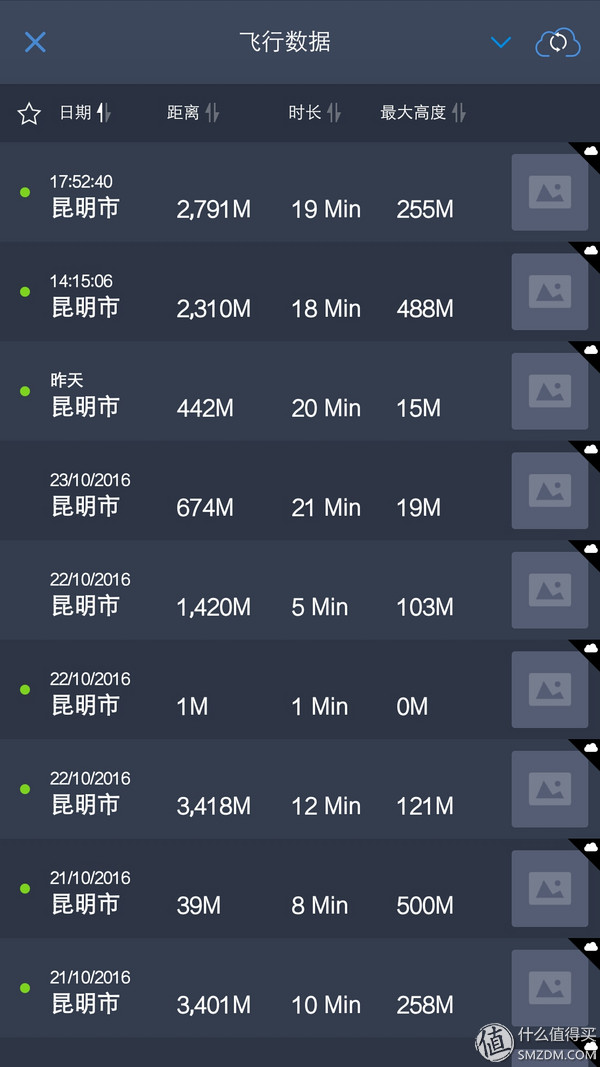
It has been more than a week since MAVIC PRO was received on the 17th. It is flying every day. The following figure shows the MAVIC PRO flight data recorded by the DJI GO APP. A total of 3 hours and 35 minutes have flown since the issue of this article, and 25 flights have been made to share the experience with everyone.

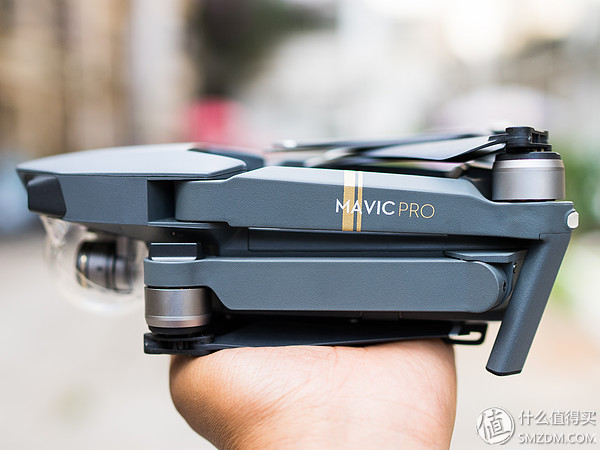
Overall appearance:
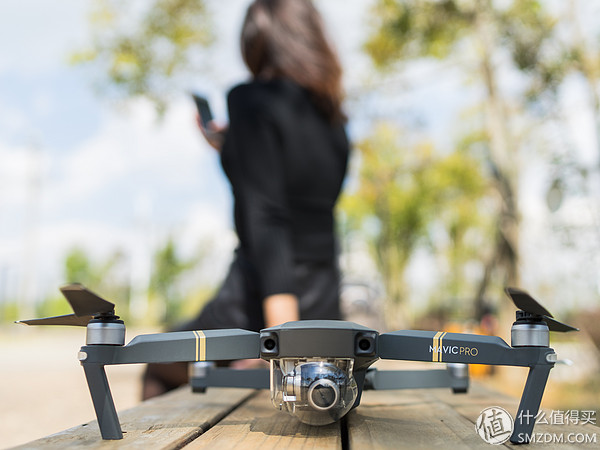
Most drones today are bulky and cannot be carried around. MAVIC PRO's biggest advantage is its compactness and portability, and it can be folded directly into your carry-on bag.
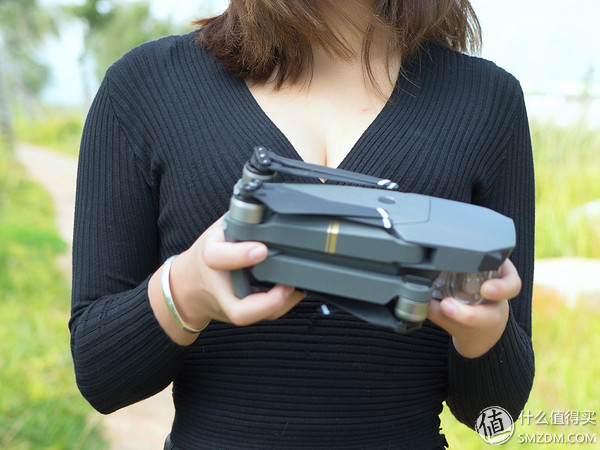
It's very compact. The extended MAVIC PRO can be stored within a few seconds of proficiency. After storage, you need to find a small storage bag and put it into the bag, otherwise it is easy to be scratched (the remote controller is also Kazakhstan).
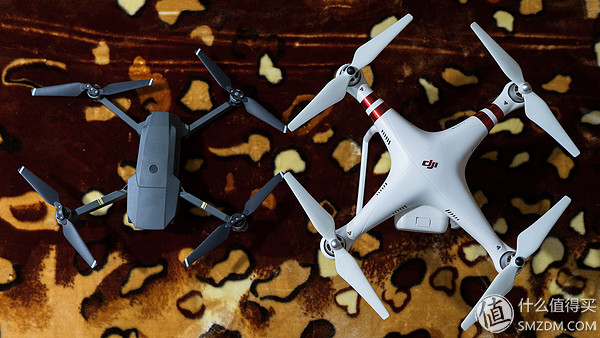
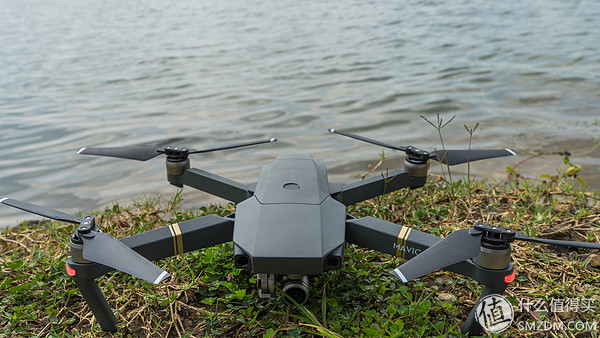
Stretch out to be smaller than Elves 3, shorter, and lighter.
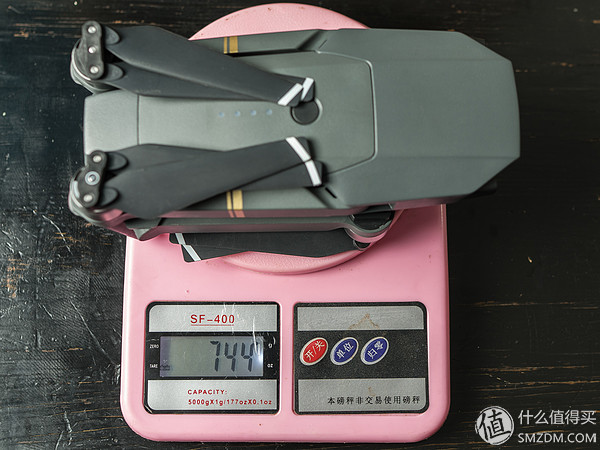
By the way, the overall weight of the MAVIC PRO battery is only 744 grams:
It takes only a few seconds to fully extend the arm, giving it a full sense of science and technology:

Flying in the sky MAVCI PRO, is not very handsome ~
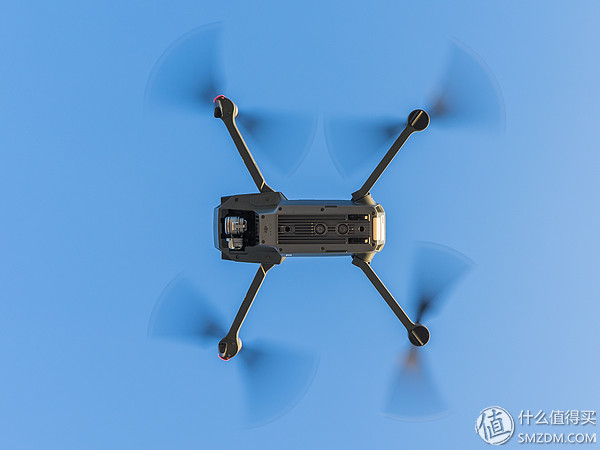

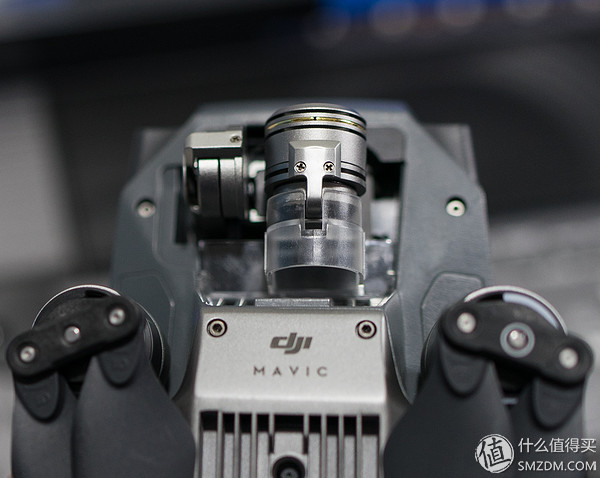
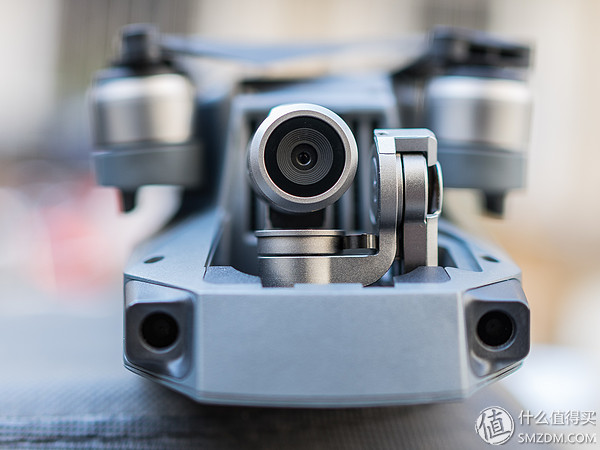
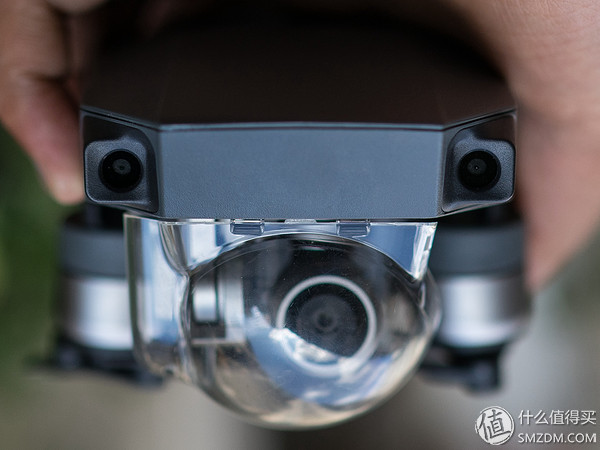
The letter MAVCI PRO is printed on the right arm of the head. The front two small eyes are front vision sensors that detect if there is an obstacle ahead. The triaxial pan/tilt head is inside the transparent protective cover to prevent the lens from being scratched and injurious to the pan/tilt head assembly. It is recommended to take it off before flight:
Shore Crab ~
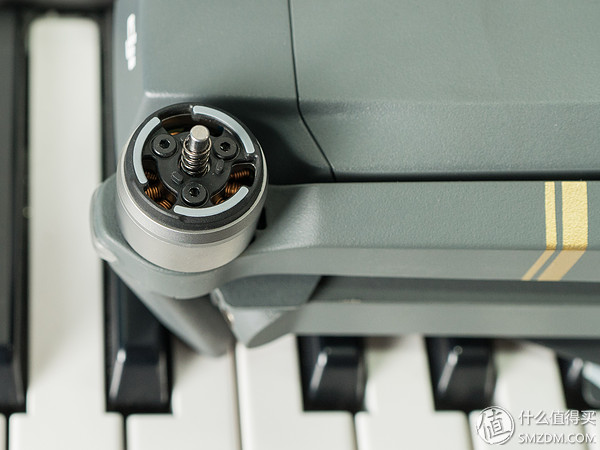
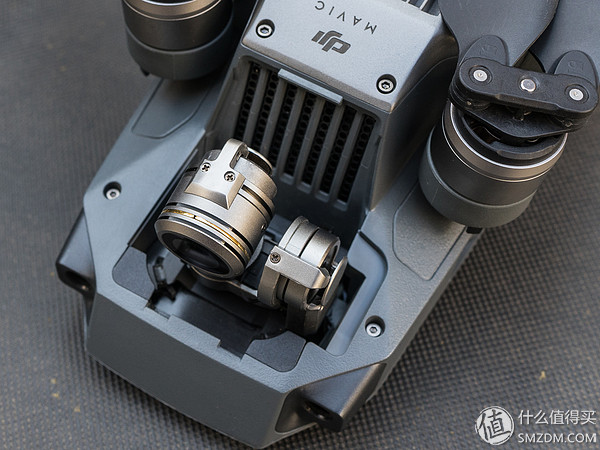
After removing the large pan-tilt transparent protective cover, a small plastic fixture is still attached behind the pan-tilt to prevent damage to the pan/tilt on the road. It must be removed before take-off. Otherwise, the pan/tilt motor will not be overloaded. After flying, be sure to remember the card.
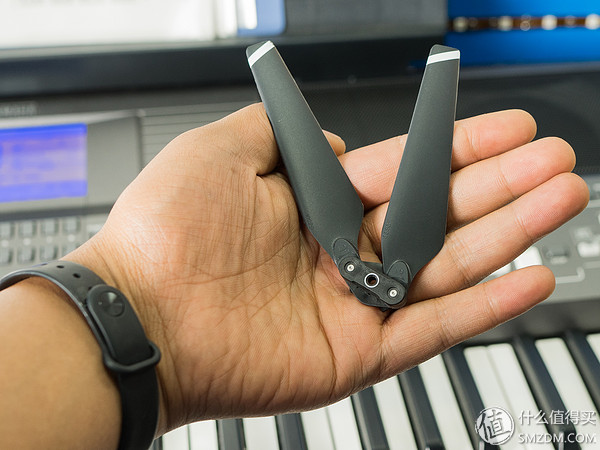
The blades of MAVIC PRO are also detachable. After receiving the goods, they are inserted into the gap of the motor and then tightened according to the direction on the blade. Afterwards, it is not necessary to remove them every time. This is a lot less time than the previous wizard. .
Paddles that can be folded and disassembled, very light and flexible:
There is a snap on each side of the aircraft:
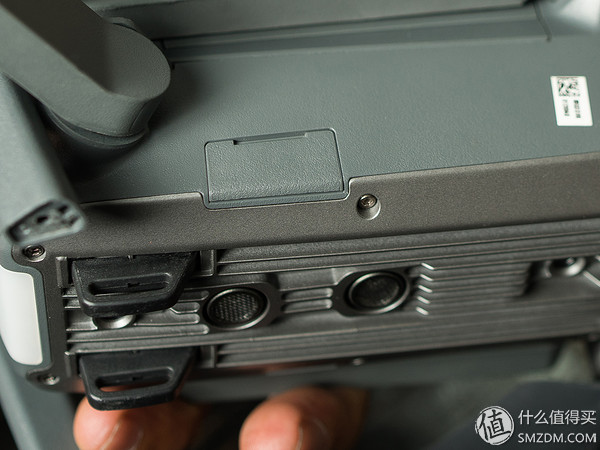
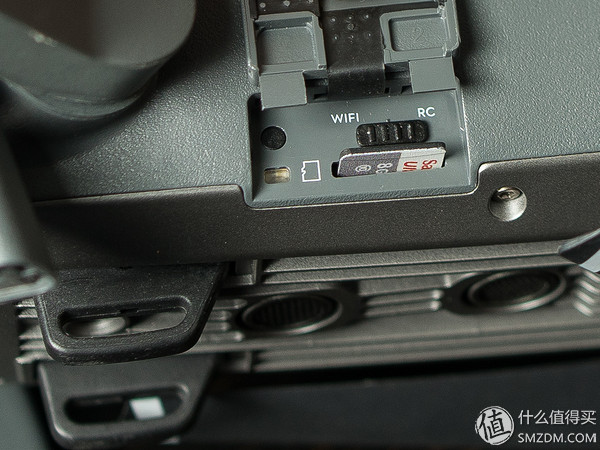
The left side of the buckle is the TF card jack and remote control / WIFI control switch, the right is the MICRO USB port, MICRO USB port can be used to connect the computer to calibrate the sensor, export the flight records and other operations. Note that the maximum support 64G TF card, it is recommended to buy 64G high-speed card, 32G following will not be considered, recording 4K video, then every flight will have to produce 8-10G size video files.
In the event of an abnormality in the sensor, you can use the MICRO USB port to connect to the computer for calibration:
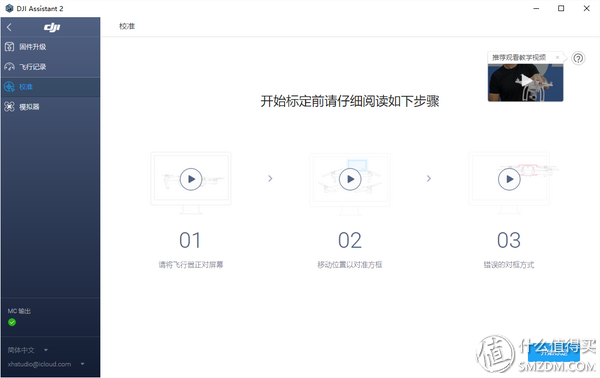
Calibration is also very simple. Take the camera of the aircraft and shoot the computer screen according to the prompts.

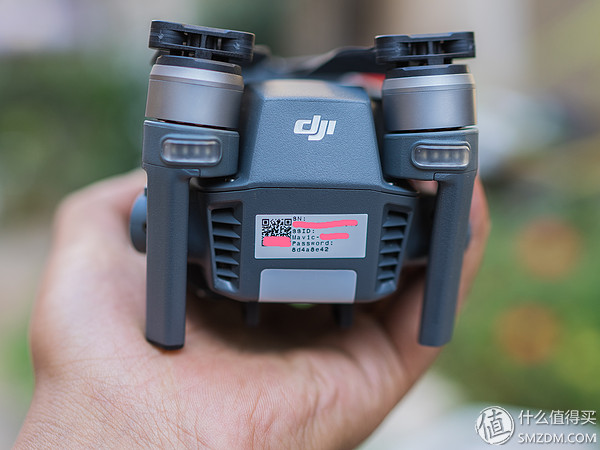
There is a serial number, WIFI password, and two-dimensional code printed on the tail of the machine. When using the mobile phone wifi to connect the drone, scan the QR code. The bottom is the flight status indicator:
Battery and Charger:
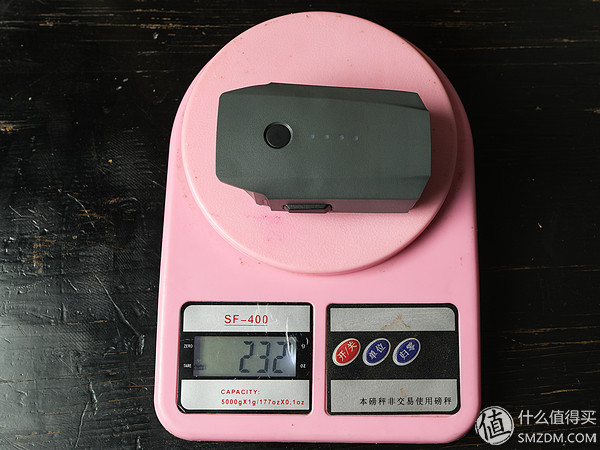
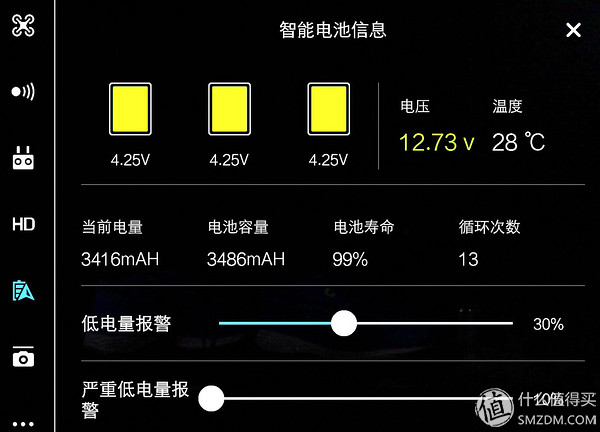
The dedicated lithium battery is three-core, with a capacity of 3830mAH and a rated voltage of 11.4V. Just like the wizard's battery, the power level can be displayed with the press of a button. Weighing about a net weight of about 232 grams:
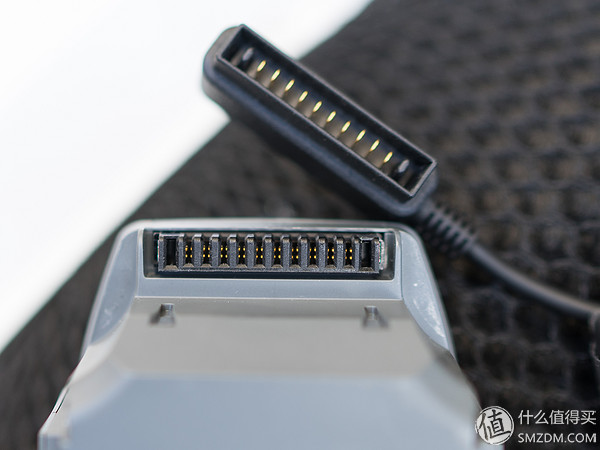
Do not look at the battery has 10 contacts, in fact, only the positive and negative terminals, the other terminals are in parallel, if a terminal due to vibration and other causes of poor contact, there are other terminals are connected to the drone, this design Worthy of praise. Just imagine that if there are only two terminals, in case one of the electrodes is loose, the airplane will fall directly.
In the APP, you can see that the consistency of the batteries is very good, and 4.25V is not bad at all:
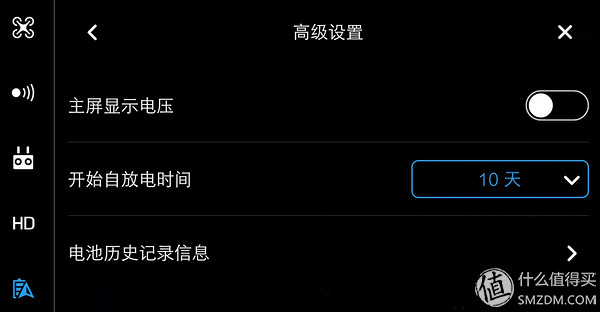
DJI's battery management system is also very good. If it is not used for a long time, the battery will be automatically discharged (the default is 10 days). Lithium battery power is too high and storage will affect the life span.
Regarding endurance, the official stated that the maximum flight time is 27 minutes. Of course, this depends on the wind speed and other conditions. For example, the faster the flight, the weaker the endurance will be. I am more conservative. As shown in the figure, my maximum flight time is 21 minutes. I will reserve a certain time (at least 20%) to prevent accidents from happening when I return.
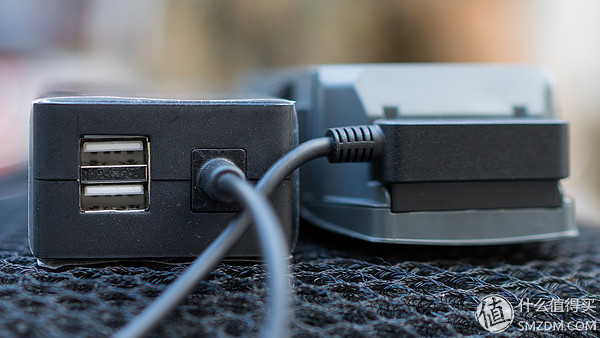
The charger is also designed to be awesome, both front and back can be plugged in. Two USB ports are also reserved. One USB port can charge the remote control. The other can also charge the phone or tablet. The charging current can reach up to 2A. . Regarding the charging time, I tested that it takes 1 hour and 20 minutes to fill the battery with 10% remaining.
PTZ camera:
The MAVIC PRO is equipped with a 12-megapixel camera. The sensor size is 1/2.3". The lens is a 28mm wide-angle lens with an aperture of F2.2. It can take 4000X3000 resolution pictures (RAW format is supported) and 4K 30FPS video.
 In such a small drone, MAVIC PRO still uses a three-axis mechanical head, which can make the aerial picture more stable. It can be seen from the sample that the mechanical stability of the head is quite awesome.
So what's the actual effect of this 12-megapixel camera? I pass up two sample pieces:

As shown in the picture, it is not a good weather. The details can not be compared with the SLR, naturally, it is still good to pass the picture of the friend circle. It can be seen that the 28mm lens has almost no distortion:

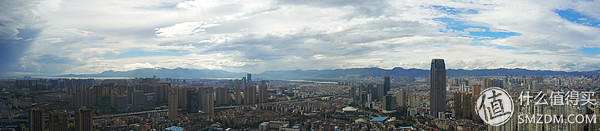
Some friends may think that the 28mm lens is not enough "ultra-wide", it should be this time joined the gesture of self-photograph. If you use a 24mm wide-angle lens, the proportion of people will be smaller (because the gesture self-timer has a minimum height limit for safety reasons), you can refer to the self-timer sample of the gesture I made later. If you really don’t have a wide field of vision, sweeping the panorama is not enough:
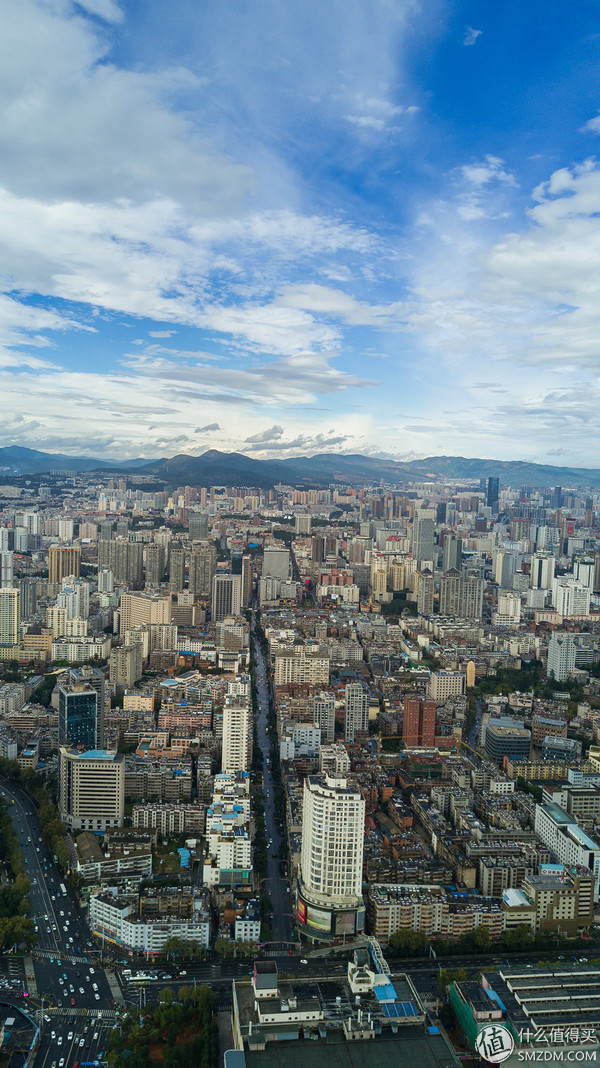
In addition to traditional horizontal shooting, MAVIC PRO also supports vertical shooting mode and a more stable tripod mode. The vertical shooting mode can give you a different perspective. Most of the current aerial photos are horizontal shots. Upload a vertical proof, forgive me for bad composition:
Shooting video is the strength of drones. Samples are attached at the end of this article. Friends who want to know can look at it. To be honest, I think the video quality of MAVIC PRO is pretty good. There is no problem in adjusting the color palette and doing commercial advertising.
Vision sensor:
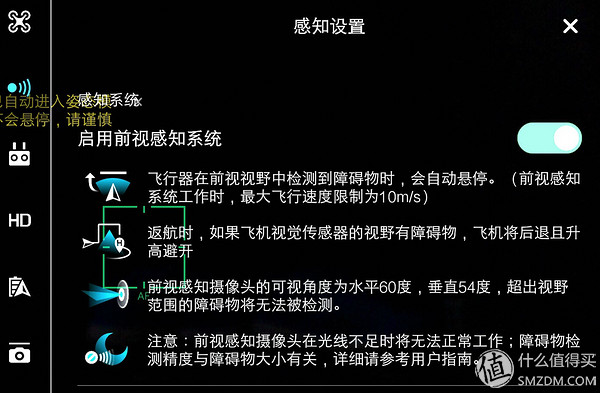
The MAVIC PRO has front and bottom sensors. The front vision sensor located at the head is two cameras. It is used to detect obstacles in the front to avoid obstacles (hovering or bypassing, which can be set). Ranging range is 0.7-15M, of course, the light is too dark is not :
In order to improve flight safety, this IntelliSense system is turned on by default:
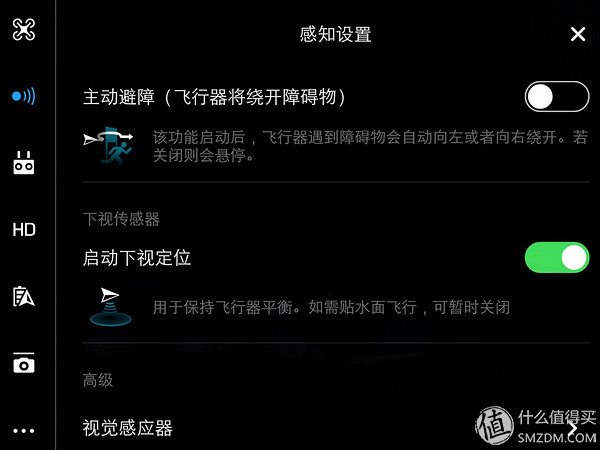
Hovering is the default when you encounter obstacles. It can also be set to active obstacle avoidance. This setting is off by default. There are no sensors on the left and right sides, so this option is generally not to be turned on:
Under the visual sensor is located in the bottom of the aircraft, in addition to the two cameras, there are two ultrasonic sensors, they are mainly used for indoor visual positioning hover (without GPS in the room, the drone can not get the height and other information):
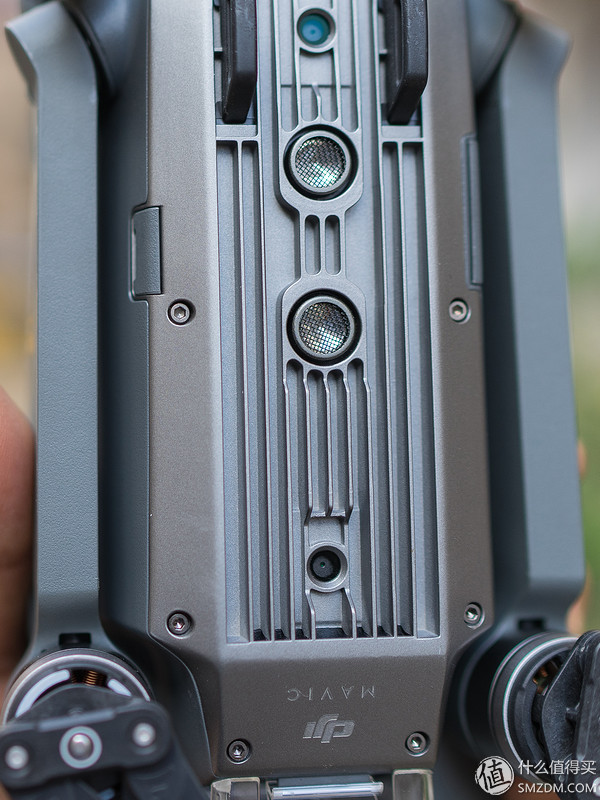
After testing, using visual positioning hovering indoors is very stable:

With regard to obstacle avoidance, I conducted several tests under various circumstances during this period of time. The response was very rapid and I was able to brake and hover in time. The visual positioning hover was also very powerful. It must be noted that the open motion mode obstacle avoidance function will fail, and the nose must keep flying forward. Please watch the video (do not imitate, there must be enough space to take off indoors):


 Weibo:
 No reviews yet, come and grab the sofa!

Lynx Box M13
Installation Guide>>
Huawei Glory Box Pro
Installation Guide>>
Millet box 3
Installation Guide>>
Infinik i9
Installation Guide>>
KKTV
Installation Guide>>
Letv TV S50 Air
Installation Guide>> Desktop tidy mood will be better! Desktop practical beauty tips + niche software recommended original innovators Sennheiser Sennheiser MX375 & MX170 headphones out of the box feel this really is a NAS? Phicomm Fetion Daily N1 Family NAS Unboxing Review Tesla announced to temporarily shut down the Model 3 production line Sony DPT-CP1 e-book release, only A5 paper size
  Canon EOS M6 camera start experience from entry to give up: Synology Synology DS416play NAS network storage usage report (on) A bumpy upgrade path - NETGEAR R6400 hand brushing Merlin firmware experience Blackgroup Hui DSM6.1 installation brief tutorial ( Attached Download) Synology DSM6.1 Application Detailed Part Two: Synology DSM 6.1 Data Security Three Master → Synchronize, Backup, Snapshot, +Recruits USB Copy 2.0
 10-port Hub 3.0 is a versatile and efficient device that allows you to expand the number of USB ports available on your computer or laptop. With its high-speed USB 3.0 technology, it offers faster data transfer rates and improved performance compared to USB 2.0 hubs.
Hub features ten USB 3.0 ports, providing you with ample connectivity options for your various devices such as external hard drives, scanners, cameras, and more. It eliminates the need for constantly swapping devices or using multiple hubs, making it ideal for home, office, or travel use.
10-port Hub 3.0 is backward compatible with USB 2.0 and 1.1 devices, ensuring compatibility with older devices that may not support USB 3.0. It also supports hot-swapping, allowing you to connect or disconnect devices without the need to restart your computer.
With its compact and sleek design, this hub is space-saving and easy to carry. It comes with a built-in power adapter to ensure stable and reliable power supply to all connected devices.
10-port Hub 3.0 is plug-and-play, requiring no additional drivers or software installation. Simply connect it to your computer's USB port, and it will be ready to use. It is compatible with Windows, Mac, and Linux operating systems, providing broad compatibility across different platforms.
Multi-Port HUB USB3.0,Industrial grade USB3.0 hub ,Type-c HUB 3.0,USB3.0 10-port HUB,Portable 10-port USB 3.0 hub
shenzhen ns-idae technology co.,ltd , https://www.best-charger.com
Pro, you need to login to comment!